How to set up in-app notifications for Microsoft Dynamics 365
How to set up in-app notifications for Microsoft Dynamics 365
April 14th, 2022
4 min read
Microsoft have recently announced the introduction of in-app notifications for Microsoft Dynamics 365 and model-driven apps using Power Automate. Continue reading to find out more about this exciting new feature…
Examples of where in-app notifications can be used
In-app notifications have been developed to alert users to important tasks that need their attention, examples of these are:
- A new case is assigned
- The creation of a record
- A new opportunity is created
- An opportunity is closed
- A call-back is created
- An SLA is breached
- A new item added to a queue
- When a survey response is submitted
- When a Lead is qualified
The difference between in-app notifications and push notifications
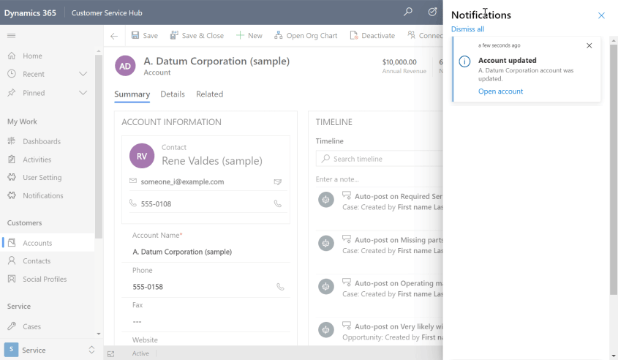
In-app notifications are available on both mobile devices and browsers, whereas push notifications are only available on mobiles. Additionally, push notifications function regardless of whether the app is open or not but in-app notifications only appear when the app is open. This functionality ensures that users do not feel inundated with messages.
When will in-app notifications be available?
The in-app notifications feature is currently only available to preview, with Microsoft yet to confirm a date for general release.
How to set up in-app notifications for Microsoft Dynamics 365
This process is outlined in our ‘how to’ video, however, we have put together a brief overview below:
1. Upon release of the new notification centre, a new bell icon will appear in the top right-hand corner of your Dynamics 365 applications. This is where users will be able to see all their recent notifications as well as configure their settings.
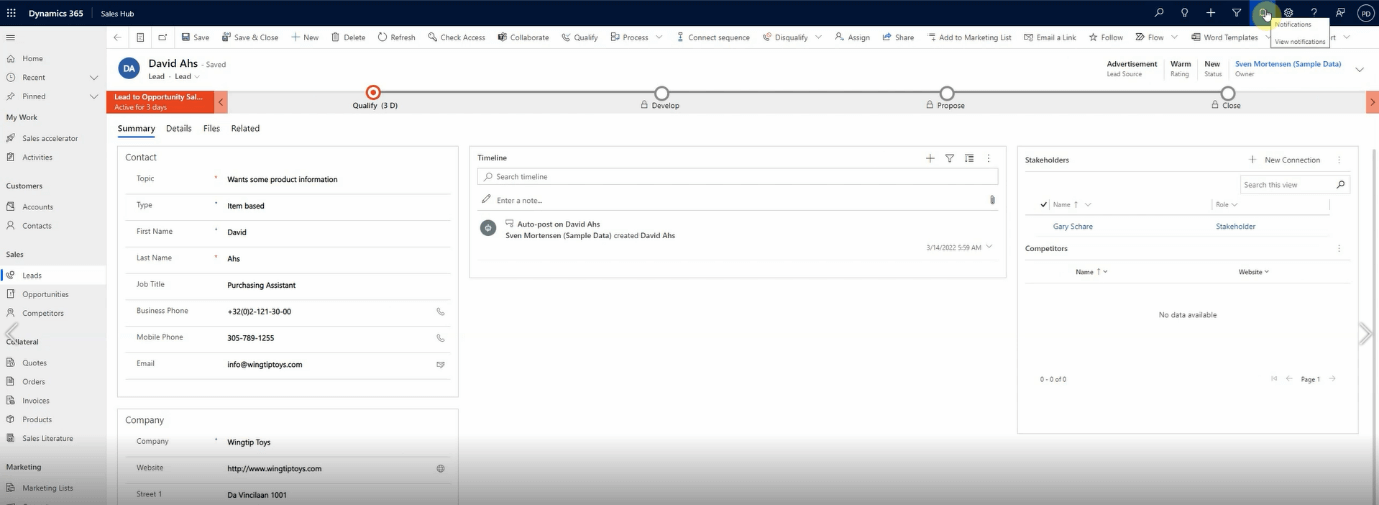
2. To create a new notification flow using Power Automate, first define a trigger. In our demonstration, our trigger is when the owner of a lead is updated.

3. To send the notification to a specified user, add a new record action using the Dataverse connector. Ensure you give your notification a title, then open the advanced options and set the owner as the user you wish to receive the notification.

4. To include a link in the body of your notification, for example, a link to the relevant record, write the text you would like the link to display within square brackets. Immediately after these brackets, enter the URL you would like to include within regular brackets. This is then followed by the ID for the lead and the trigger. Press save and the flow is complete.

Video demonstration: How to set up in-app notifications for Microsoft Dynamics 365
Get in Touch
If you would like to discuss how Pragmatiq can support your business, please email us at info@pragmatiq.co.uk, or call us on 01908 038110.
